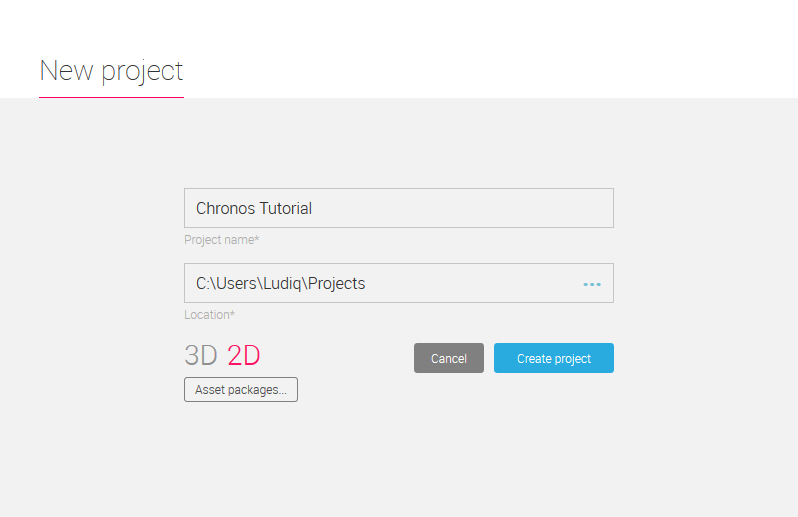
For the purpose of this tutorial, create a new blank Unity project like you usually would. Choose any project name and location and switch the preset to 2D. Next, you'll need to import two packages: the platformer demo and, of course, Chronos.
You can find the assets on the store here:
Import the packages in the root assets directory of your newly created project. For the Chronos package, make sure that the Gizmos directory is not in any subfolder — otherwise, icons in the scene view may not render properly.
As a last step before we get started, disable the script icons from Chronos so that they do not appear in the scene view. To do so, click on the Gizmos dropdown in the top right corner of the scene view, then click on the icon of every Chronos script to render each one faded out. Do not uncheck the gizmo checkboxes.
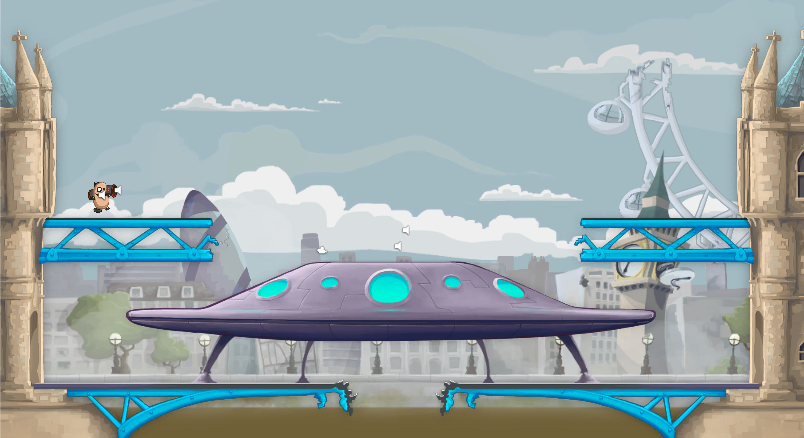
Finally, open up the Scenes/Level scene that contains the platformer. Our project is now properly set up and we are ready to use Chronos!